Pages

09 July, 2015

New Toy!

I love walking around craft stores. I could spend hours in Michael's or Hobby Lobby, meandering across the inspirational aisles. If I ever go into a craft store, my one rule is that I cannot take a basket or shopping cart with me. Everything I want to purchase has to fit in my arms. Sometimes I look a little ridiculous as I approach the register, my arms overflowing.
Yesterday I stopped by Michael's. I needed white cardstock and doilies. The only problem? They had a terrible selection of doilies. Yes, they were cute, but there were limited sizes and colors. I had my heart set on gold doilies, but after walking by all the shelves that contained doilies, I about gave up. Just for fun, I located the Martha Stewart section. I like to drool over her supplies. Sitting there, all innocently was a tool I knew I needed.

It's a Martha Stewart circle punch and it makes doilies guys! In the back of my mind for the duration of the shopping trip, I was chastising myself for not just using my Silhouette to cut out the doilies. It was more than capable, I could use whatever paper I wanted, and the designs were almost limitless. The other part of me knew I probably would never use my Silhouette to do this because I do not want to spend hours peeling tiny bits of paper off of the cutting mat.

I coveted that little instrument for a minute, knowing that I would never spend $28 on a little tool if I already had a machine that could do the job just as well. Inspiration struck. I checked out the Michael's coupon on my phone. Sometimes they do not allow their coupons to be used on Martha's supplies. Yesterday was an exception.

I bought it and hurried home to try out my new toy. The tool comes with one cartridge and thankfully it was one I liked. Whenever I buy new toys, I like to see if I can figure it out without instructions. Sometimes this goes disastrously. The instructions are simple for this little guy.


Take the extra metal piece that is in the same case as the cartridge and put it on the tool. Then decide what you would like the circle's diameter to be. Move the two pieces so they are both pointing to that number.


Find the center of your piece of paper and attach it to the tool with the round knob (held on by magnets).


Then put the cartridge above the knob, also held on by magnets. (Why do I think things with magnets are so cool? Probably because I taught magnetism for a year and I now have a bunch of cool magnet toys.) Punch down the cartridge and remove it.


You have the start of your doily!


Rotate the knob once. I rotated it counterclockwise to be a rebel.


Keep rotating it and punching.


After you do your last punch, you have a doily! (I hate taking pictures of glitter paper.)


I did 24 in less than half an hour. If I would have used my Silhouette for the same job, I imagine it taking at least three times longer with a lot more work involved.


I now have adorable gold glittered doilies to use!

BONUS: After showing my husband my cool new toy, he got really excited. "We can put a cake on one." I love it when he is happy for me and my toys.

I might have to head over to my favorite craft stores to see if they have sales on their cartridges. Here is another one that I think is adorable! (Source)


06 July, 2015

Library Organization

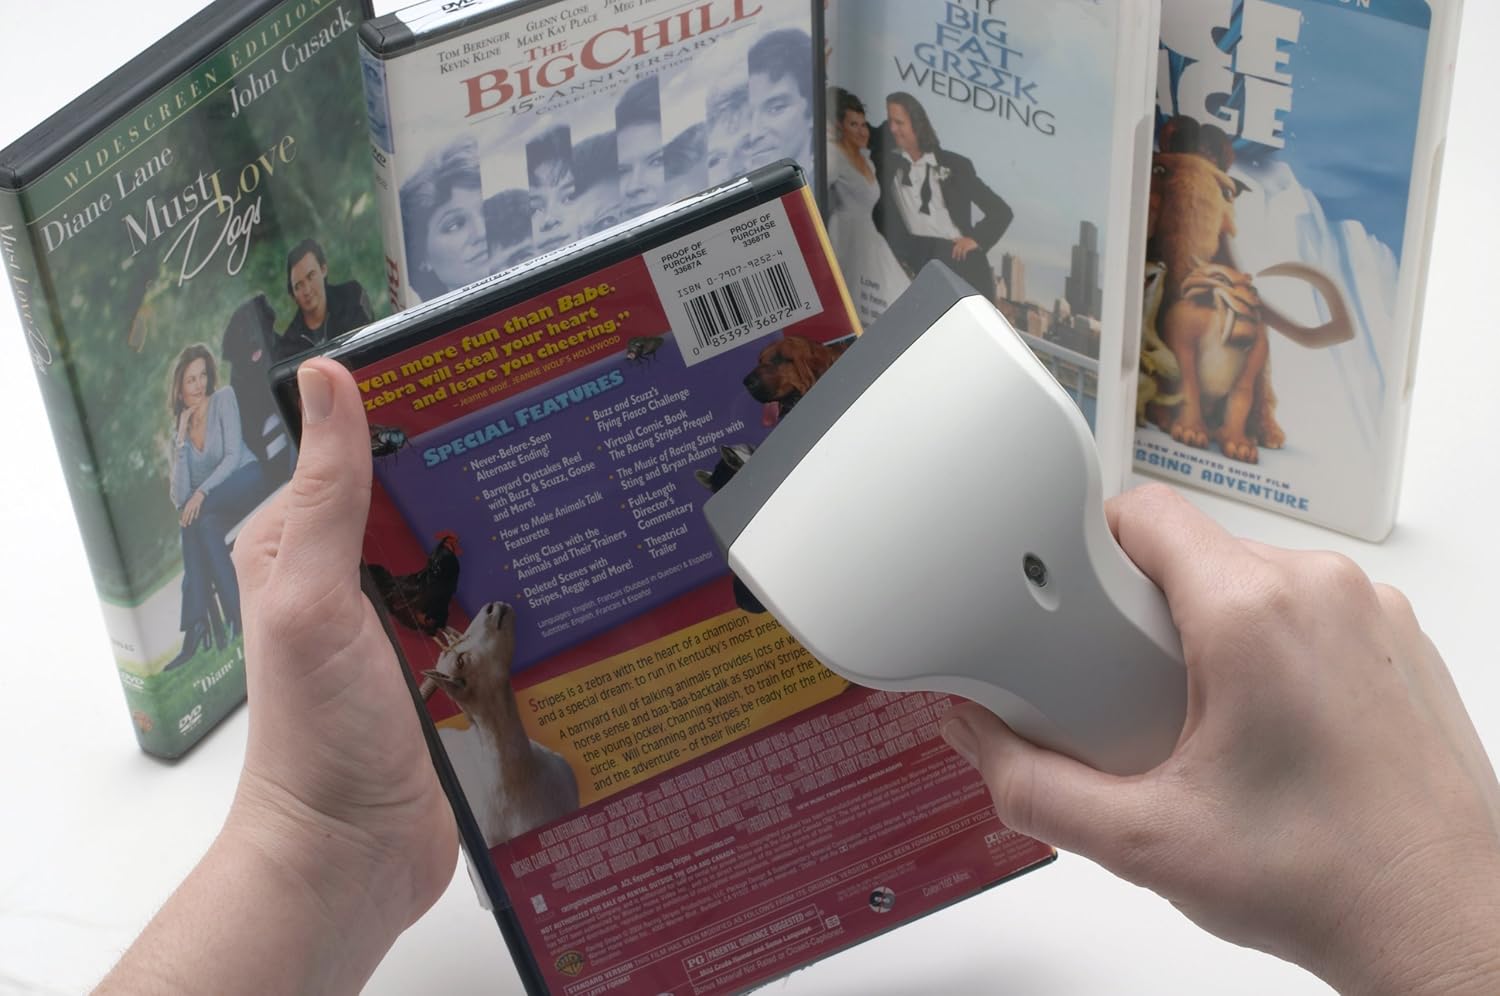
I have school library jealousy. If I could have my dream library organization, I would go with this scanner on Amazon:

But, who am I kidding? I am not a librarian.
I have also looked into book scanning apps, but I do not want my students touching my phone and up until this year, I have had no other form of scanning.
Last year I had a binder with a checkout page for each student in it. What was wrong with that system? I got bored with it and I was sick of the binder being out on my counter every day.


I cut out a bunch of library pockets and student numbers and promptly laminated them. (If you do not have your own laminator, I would highly recommend purchasing one. They are not expensive at all, I buy laminating sheets with school money to use for these projects, and it's nice having a harder lamination on all my creations. I purchased mine at Target for $20.00 and I used a gift card from one of my students so it really didn't cost me anything.)


My least favorite part about laminating is cutting it all out again at the end. I figure that the extra time I spend now will make it so I don't have to remake my school supplies every year. These pockets will be by my library so that students can easy access them, but they will be on the sides of my bookcases so they are out of the way.


In the pockets, I will have a checkout slip (similar to the ones found on I Love Labels) and two large popsicle sticks with the student number on them. When students check out a book, they simply place their popsicle stick as a placeholder so that my library stays as beautiful as possible. I made the sticks with a clear label containing their student number over a one inch strip of blue or green washi tape.


I also have been painting things with gold paint. I covered magnetic letters with gold spray paint and used regular gold paint to paint an Ikea planter and the top of this paperclip holder.


Linking up:

01 July, 2015

Seven Weeks

School starts seven weeks from today. My summer vacation is almost halfway over. I try not to think about how little time I will have to set up my classroom. I understand that there are multitudes of teachers that cannot get into their classroom during the summertime. My hat goes off to you. Up until this year, I have always had access to my room within a week of school getting out the previous year.
Now, all my supplies are crowded into countless boxes and bins, awaiting that glorious day when I can move it from one school to the next.

My classroom is coming along. I was able to tour the school yesterday. The outside doors are in and the construction crews are now concentrating on the rooms and the part that we get to see.
The layout of my classroom is almost identical to the layout of the classrooms in my previous school. This makes it nice because I have the same amount of storage, the same amount of wall space, the same amount of whiteboard surface area. There are several exciting changes that we will receive that I am stoked to show you...when I can move into my currently unfinished classroom.

One final note before we break into the pictures: (Normally I abhor it when bloggers mention this, but I have a specific reason why I am mentioning this.) The picture quality is not great because...no windows. That's right. I have zero glimpses of the real world from inside my classroom. Unless I stand at the door and the teacher across the hall from me has her door open with an unblocked view straight outside. I do, however, have four awesome mini skylights.

My room is green this year! It sure beats maroon/brown. I love the color. I also kinda want to borrow that scaffolding because my husband and I need to paint a very tall wall next to our staircase.


My lovely wall of storage. The cubbies are different from my last school. I believe we only had 30 cubby holes last year. Count 'em up. 35 slots. One month I had 36 students, but then someone moved and I felt like I could breathe again.

Here is my bookcase and tall cabinet with a mirror. You know I need to look good while I wrangle 10-year-olds.

Last year I had some open space (no door) between the tops of the cubbies and the cabinets. This way it will look cleaner.

One more view of my green wall! One fantastic reason why it is good to have an inside classroom is that I do not have radiators. The classrooms on the outside of the building have radiators that flank that wall on either side of the cabinets.
(The wall to the right will have two whiteboards and a cool little piece of technology. It is not a smart board.)

Let's take a look at my counters. Green again. How lucky can I get to have green everything. I might just have to retire after this classroom because she is so beautiful.

I have two of these against my back wall. They house my classroom library.

And for some reason I felt drawn to my sink yesterday. Here is my sink. I hate kids getting drinks during class. I'll have to rethink my policy in the next seven weeks. She's a looker. I just hope the water doesn't taste gross.

I never thought I would go through the process of watching my school being built and counting down the days to when I can move in because my room doesn't have a ceiling yet. They are estimating that we can get in a week before school starts. I was chatting with my previous principal a week ago and mentioned that fact. He shrugged, "I guess some teachers can get ready in that period of time."
True, true.
It will be a first for me.

29 June, 2015

Woven Paper Baskets

One thing that has been constant throughout my classroom decor since I started teaching is hot air balloons. I use them for my table numbers. Every year they change slightly, but I feel like I almost have them right where I want them. This year I switched out the super cool 3D letters I made out of paper for some super cute glitter numbers I found in the Target dollar section. The other big change this year is the baskets.
I got the idea from this website and got started with brown paper bags, but decided that would be too intense, so I rushed off to the dollar store to grab one of their kraft paper rolls. Unfortunately, there were no plain brown rolls, but I was happy to discover all their kraft rolls are plain on the back.

Each strip was cut 1.5"x14"
I tried folding it in thirds just by eyeing the strip, but I failed miserably. I had to use my cutting mat to help.
 Down to 0.5"


Once I folded 13, I was done and the weaving began.


And I am left with a basket. Put fruit in it. Give your neighbor some cookies in it. Use it as a miniature hot air balloon basket. The options are endless.
It's perfect! 2.5"x2.5"x1.5". I cannot wait to attach them to my balloons and numbers.


Linking up!


24 June, 2015

End of an Era

On the last day of school, my classroom looked like this:

So boring. So empty. Such a lack of banners and pennants. It's official. I'm done...with my second school. No one dreams of working at three schools in four years (well, maybe they do, but I certainly did not), but an amazing opportunity came up for me to help open a new school just a couple miles away from my last school.

I interviewed for the new school at the end of March. I didn't think much of it. I love my school. I love the culture. I obviously love the patrons. I interviewed as a "why not." Besides, I needed practice interviewing for when my husband drags me away from this beautiful state and somewhere else in a couple of years for our PhD phase.
After interviewing, I realized I really wanted to work for this principal. He is opening up a brand new school which is an amazing opportunity. His vision is aligned with mine. He is energetic and excited and forward thinking. I had to wait about a week to find out the results.
What to do...
Geometry homework?
Crafting?
I did it all. I even did extra housework.

Thirty minutes before school got out that Monday, the new principal dropped by as I was reading Elijah of Buxton to my students. Just like that, he gave me the job.
Such a whirlwind.

Want to see my new classroom as of a month ago?


Looking great, right? Ha. If the school is finished a week before school starts, it will be a miracle.

Now, onto what I've been working on for this fresh, brand new, super clean classroom with stain-free carpet. (Linking up with Monday Made It.)

#1. Magnets.
I seem to have an obsession every year. There have been banner years, clothespin years, and the last several months have been full of decorative magnets.
There has been an amazing scrapbook warehouse sale going on in my area for over six months now. They have adorable embellishments that were perfect to tear the backs off and turn into magnets.


I made...a few the other day. I made over 100 magnets! All of these were made from the darling embellishments I found. The total to make all these magnets was less than $10. I like to buy the small rare earth magnets from Etsy in packs of 50 or 100. They are much stronger and cheaper than the ones from craft stores like Hobby Lobby or Joann's. After putting something on top, they are super cute and easy to pick up.


My favorite ones are made from adhesive badges. When I discovered how much I love them, I went back to find more, but I couldn't find any more. I'll be heading back soon so hopefully more show up.

#2. Brand new alphabet.
I made a cute alphabet out of craft paper and teal cardstock. It was cute, but I was never in love with it. Surprise! More supplies from the warehouse sale. I love the teals that have been in lately. Plus, I was able to get a huge pack of glitter paper (over 100 sheets) for $10. (Can anyone tell how much I love it when this sale rolls around?)


#3. Cubby numbers! When my students pulled off their old cubby numbers, I realized they looked really trashed, but do I really need a reason to make cute labels?


Canoes!


#4. New birthday chart. I love the idea of my birthday chart, but wanted to redo the style.


Linking Up